Azure Automation Certificates
Azure Automation Certificates are a powerfull and secure way to store certificates in your Automation Account. The certificates can then be access from multiple Runbooks and centrally managed using Automation App and/or the Azure Portal
Create a new certificate
You have two options for creating a new Certificate using Runbook Manager.
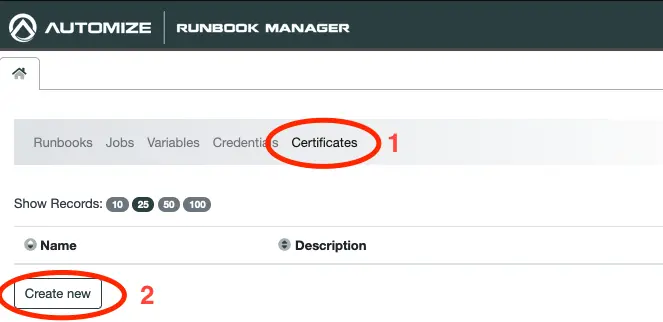
From the main menu of Runbook Manager navigate to Certificates and click on Create new.
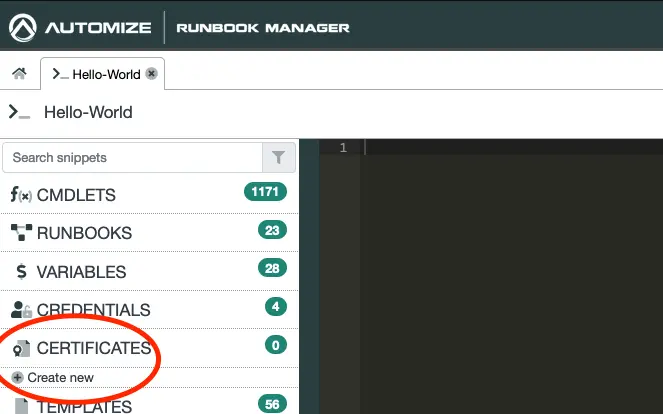
Alternatively you can obtain the same by clicking on Certificate if you have an open Runbook and then click on Create new.
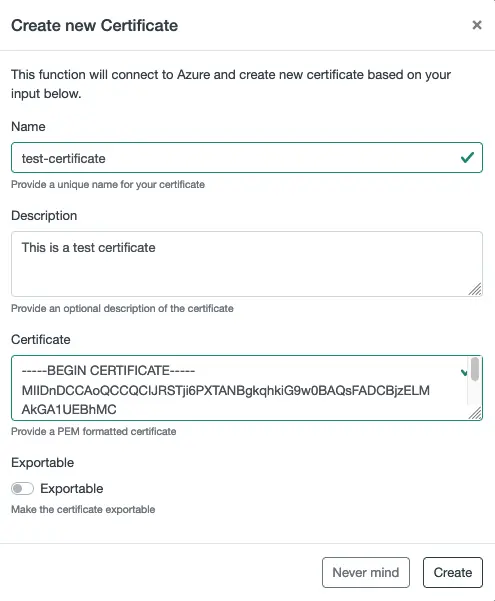
In either case a modal will appear in which you can fill in the information around your Certificate.
Accessing a Certificate
Accessing a Certificate in a Runbook is very useful. The easiest way to do so is by using the menu to the left.
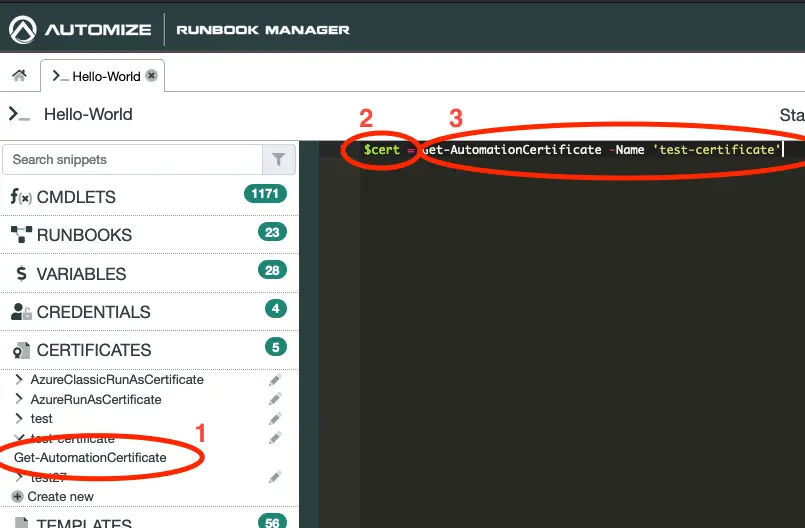
- Click on the certificate that you would to get and click on Get-AutomationCertificate. This will copy a snippet to your clipboard.
- Write a variable name and an equal sign, eg. “$cert = “.
- Paste in the snippet from your clipboard.
Updating a Certificate
You can update the descrition af a certificate from the UI.
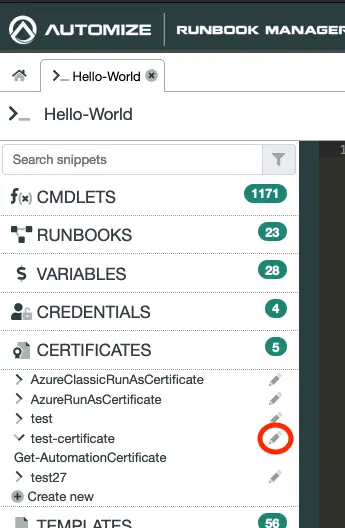
Click on the pencil next to the certificate you wish to edit.
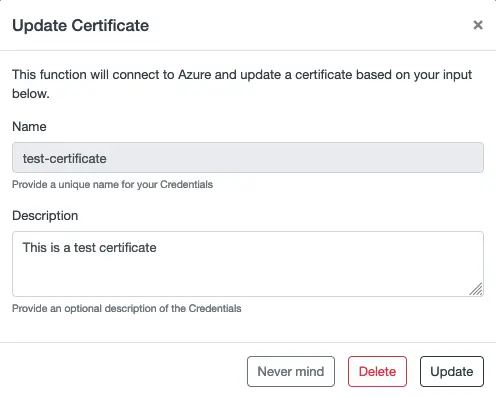
Update the value and click on Update.
Delete a Certificate
It is possible to delete a Certificate that you no longer need.
Click on the pencil icon next to the Certificate you wish to delete.
Click the Delete button.