ServiceNow Setup
In this guide we will configure Automation App in ServiceNow to be able to connect to Microsoft Azure. To complete this guide you must have the role of Admin in ServiceNow.
Setup connection to Microsoft Azure
Open the Automation App in the Navigator of ServiceNow
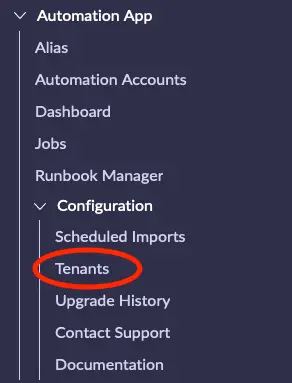
Click on Tenants and then click on the New icon at the top left of the list.
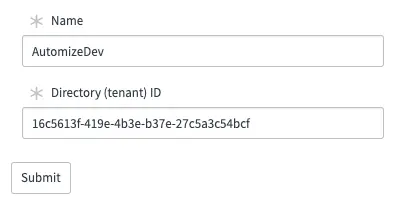
Enter a meaningful name of your tenant and add the Tenant ID that we have collected in the Azure setup section of this guide. Right click on the top grey bar and select Save.
If you have more than one tenant repeat this step for each tenant.
Authenticate using a Secret
If you wish to authenticate using a secret you need follow this step. If you wish to use a certificate instead, you can skip to the next section.
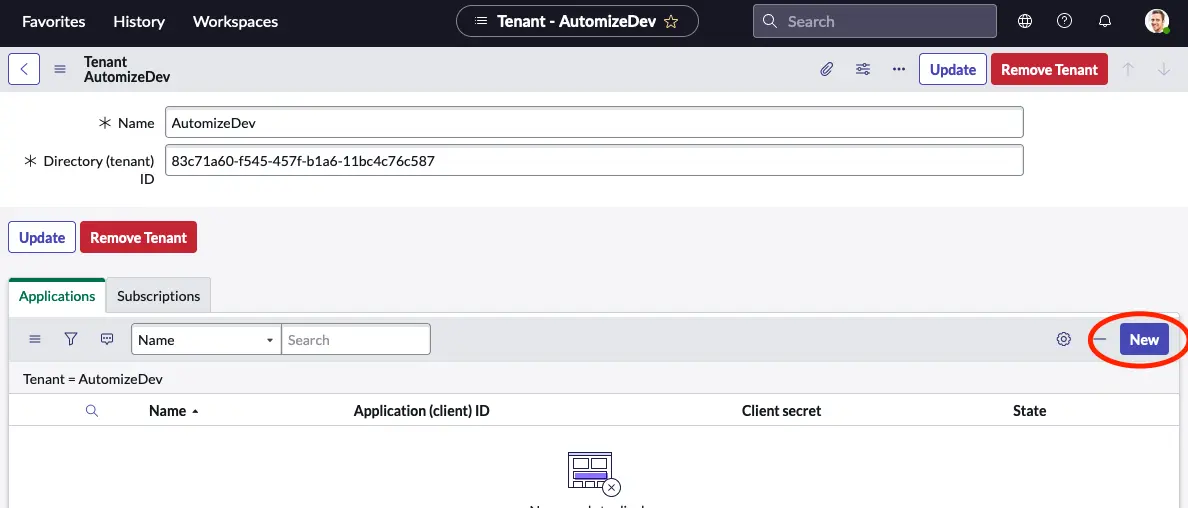
Next click the New button in the Applications related list of the Tenant record.
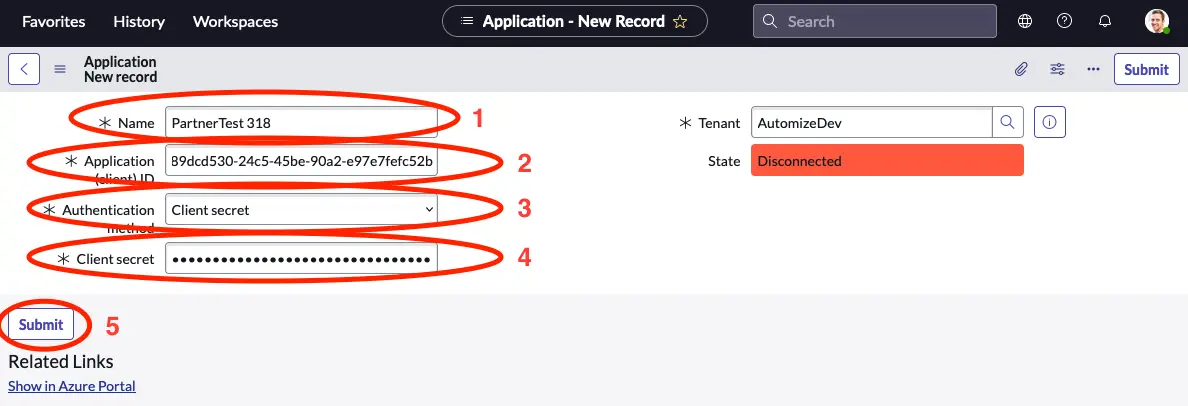
Now we need to use the Application ID and secret that we optained in the previous chapter.
- Give your application a meaningful name.
- Input the Application ID.
- Select Client secret.
- Paste in your secret.
Repeat this step if you need to setup more than one application.
Authenticate using a Certificate
If you completed the above step and wish to authenticate with a secret, you can skip this section.
To authenticate using a certificate we first need to upload the certificate that we created in the previouschapter.
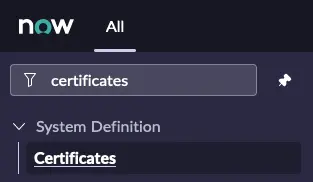
Navigate to System Definition -> Certificates.
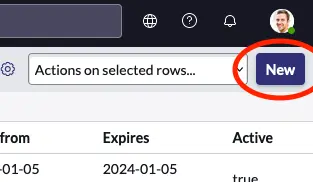
Click the New button in the upper right corner of the list.
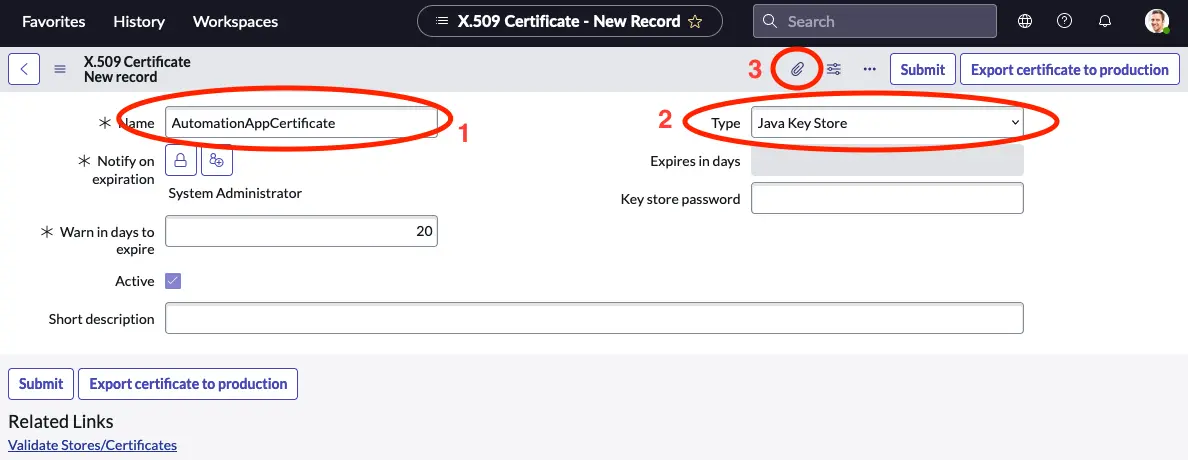
- Give the certificate a meaningful name.
- Set the Type to Java Key Store.
- CLick on the attachment handler.
Locate the JKS file that we generated in the previous chapter and attach it to the revord.
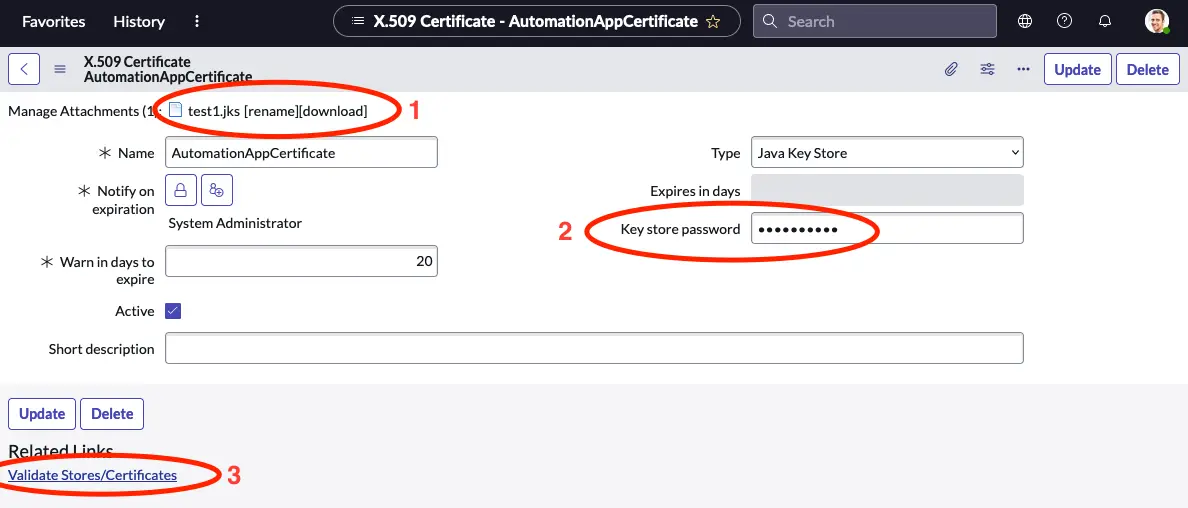
- Verify that the JKS file is now attached.
- Fill in the password that you selected in the previous chapter in the Key store password field.
- Click Validate Stores/Certificates.
You should now get a verification that you have created a valid key store.
Navigate back to the tenant record and click the New button in the Applications related list.
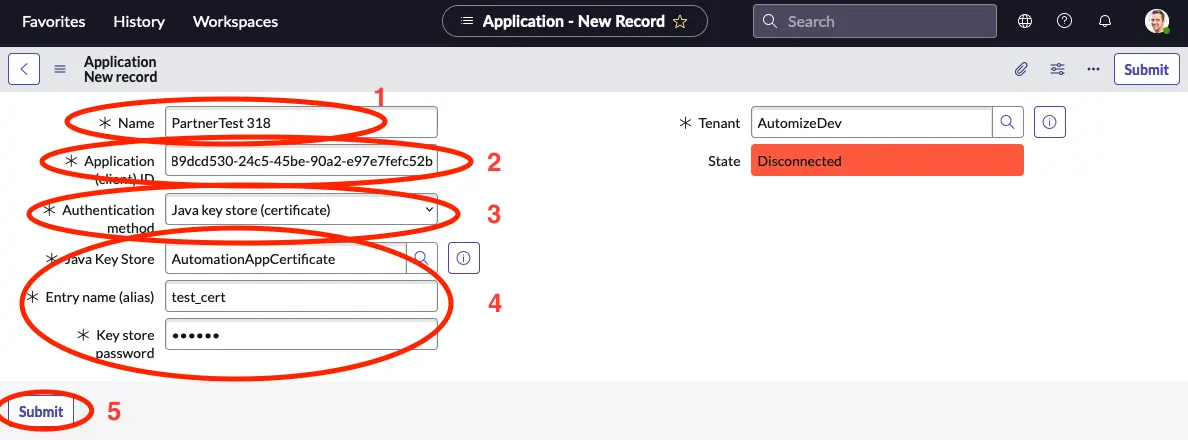
- Give your application a meaningful name.
- Input the Application ID.
- Select Java key store (certificate).
- Select the Java key store you uploaded in the previous step and key in the entry name and key store password.
- Click Submit.
Repeat this step if you need to setup more than one application.
Test connection
To test that the connection works, open the application record that you just created and click the Test connection button in the upper right corner.
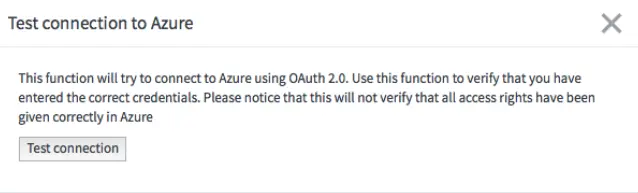
A new window opens. Click the Test connection button.
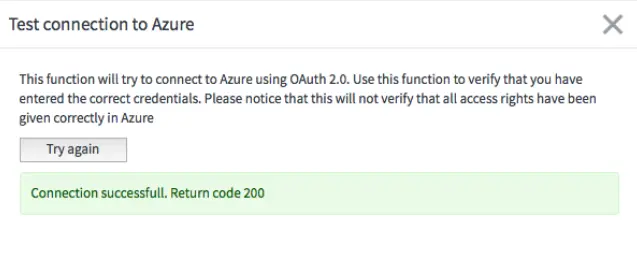
You should now get a Connection successful. Return code 200.
If you do not get this, you need to revisit the data that you have entered and ensure that you have given sufficient access to the application in Azure.
Configure the scheduled import
By default a scheduled import will automatically be created to run once a day. The import job will do a delta import making sure that your instance is up to date with the latest changes to Runbooks, Hybrid Worker Groups etc. You can however adjust how often this import job is run to fit your specific needs or run the import ad hoc when needed.
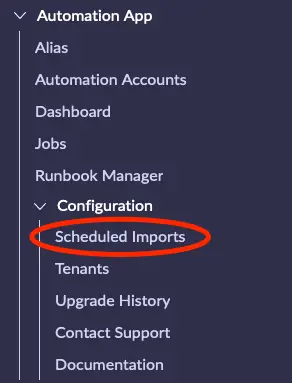
Open the module Scheduled Import in the Application Navigator.
Select a time for importing of Azure Automation resources that fits your ServiceNow environment. It is recommended to have this run daily. Click “Execute Now” to do an ad hoc import to verify that everything works as expected.
Select what is imported per Automation Account
You can configure what is imported per Automation Account.
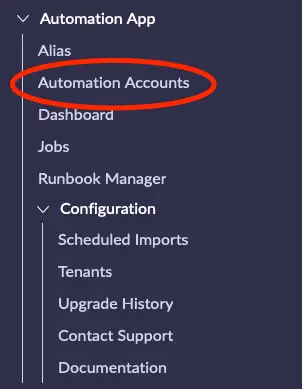
Navigate to Automation App -> Automation Accounts from the navigation menu.
Select the Automation Account that you wish to configure from the list and open it.
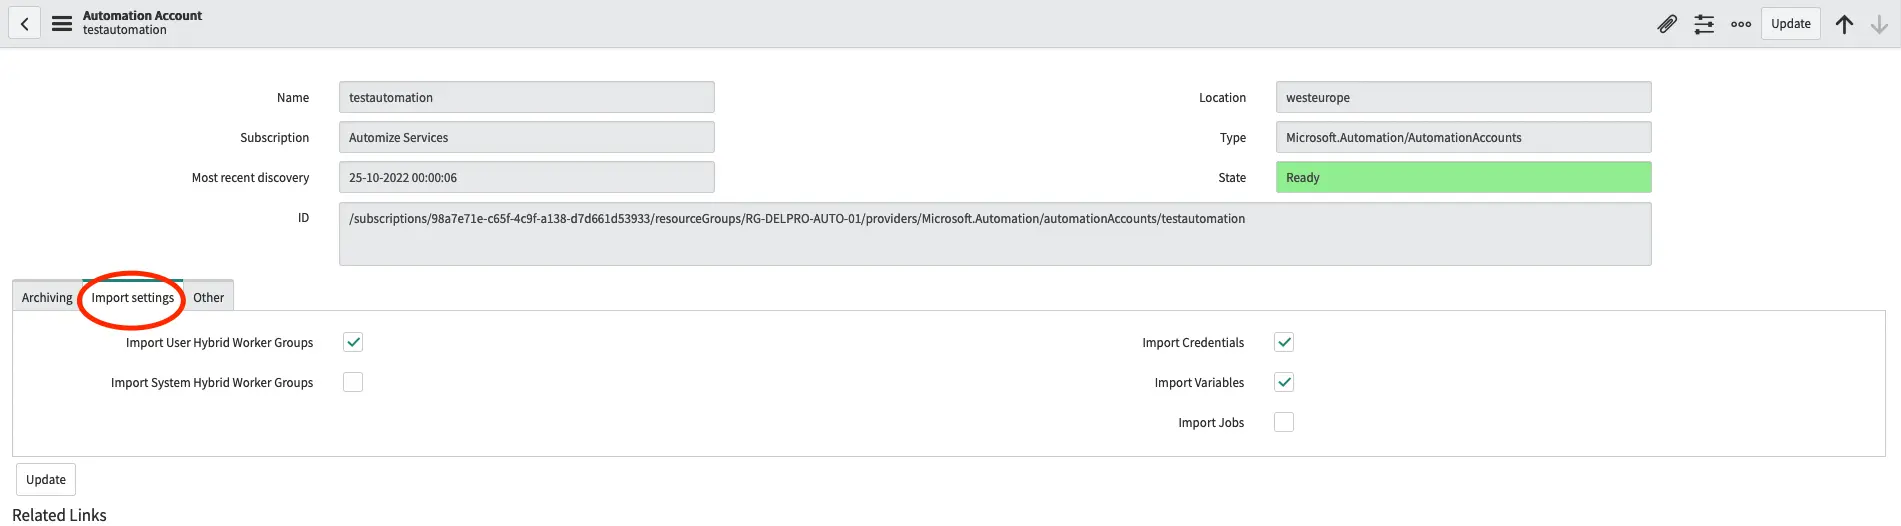
Select the Import tab and select or deselect any asset that you do not wish to import.
If you do not enable Import Jobs only the jobs created from the current ServiceNow instance will be shown. This is the recommended setup.
Configure Archiving
The purpose of archiving in the Automation App is to enable you to keep as much history as possible while minimizing the time that sensitive data is stored.
All jobs in Microsoft Azure Automation are per default deleted after 30 days. All jobs that are in the Automation App in ServiceNow are however per default never deleted to enable you to do detailed reporting on your automation success.
If you wish to archive your jobs, you can do so by navigating to the Automation Account that you wish to enable archiving for.

Select the Archiving tab and check the Enable Archiving field. Next select the time before a job is archived.
When a job is archived the job record is retained, but all input and output data from the job is removed. This way you can continue to report on your automation success, while any potentially sensitive data in the input or output of the job securely removed.
Automation App Roles
The Automation App comes with 3 roles with different access level to data and functionality of the app.
x_autps_azure_auto.read_only is the least privileged role and can only read jobs and their output.
x_autps_azure_auto.user role can contribute to the data in the app. The role gives access to the creation, modification and termination of Runbooks and other assets. The role does not give access to creation, modification or termination of Applications or Tenants.
x_autps_azure_auto.admin role includes the x_autps_azure_auto.user role, but also adds access to creation, modification or termination of Applications and Tenants.
Domain Seperation
This app has full support for Domain Separation. The domain of Automation Accounts, Runbooks etc. will follow the domain of the Application record that imported or created it.
For security reasons the app will default to not allow any data in the global domain, but will instead create data in the default domain, if no domain is specified. If you wish to add an application in the global domain, you can do so by setting the value of the system property x_autps_azure_auto.allow_global_domain_data to true.