Microsoft Azure Setup
To be able to use the Rights Management App and access your Active Directory from ServiceNow you need to have the Automation App installed into your instance. You can do that from the ServiceNow Store and you can follow the installation guide for the Automation App to set it up on your ServiceNow instance.
Register an application in Azure
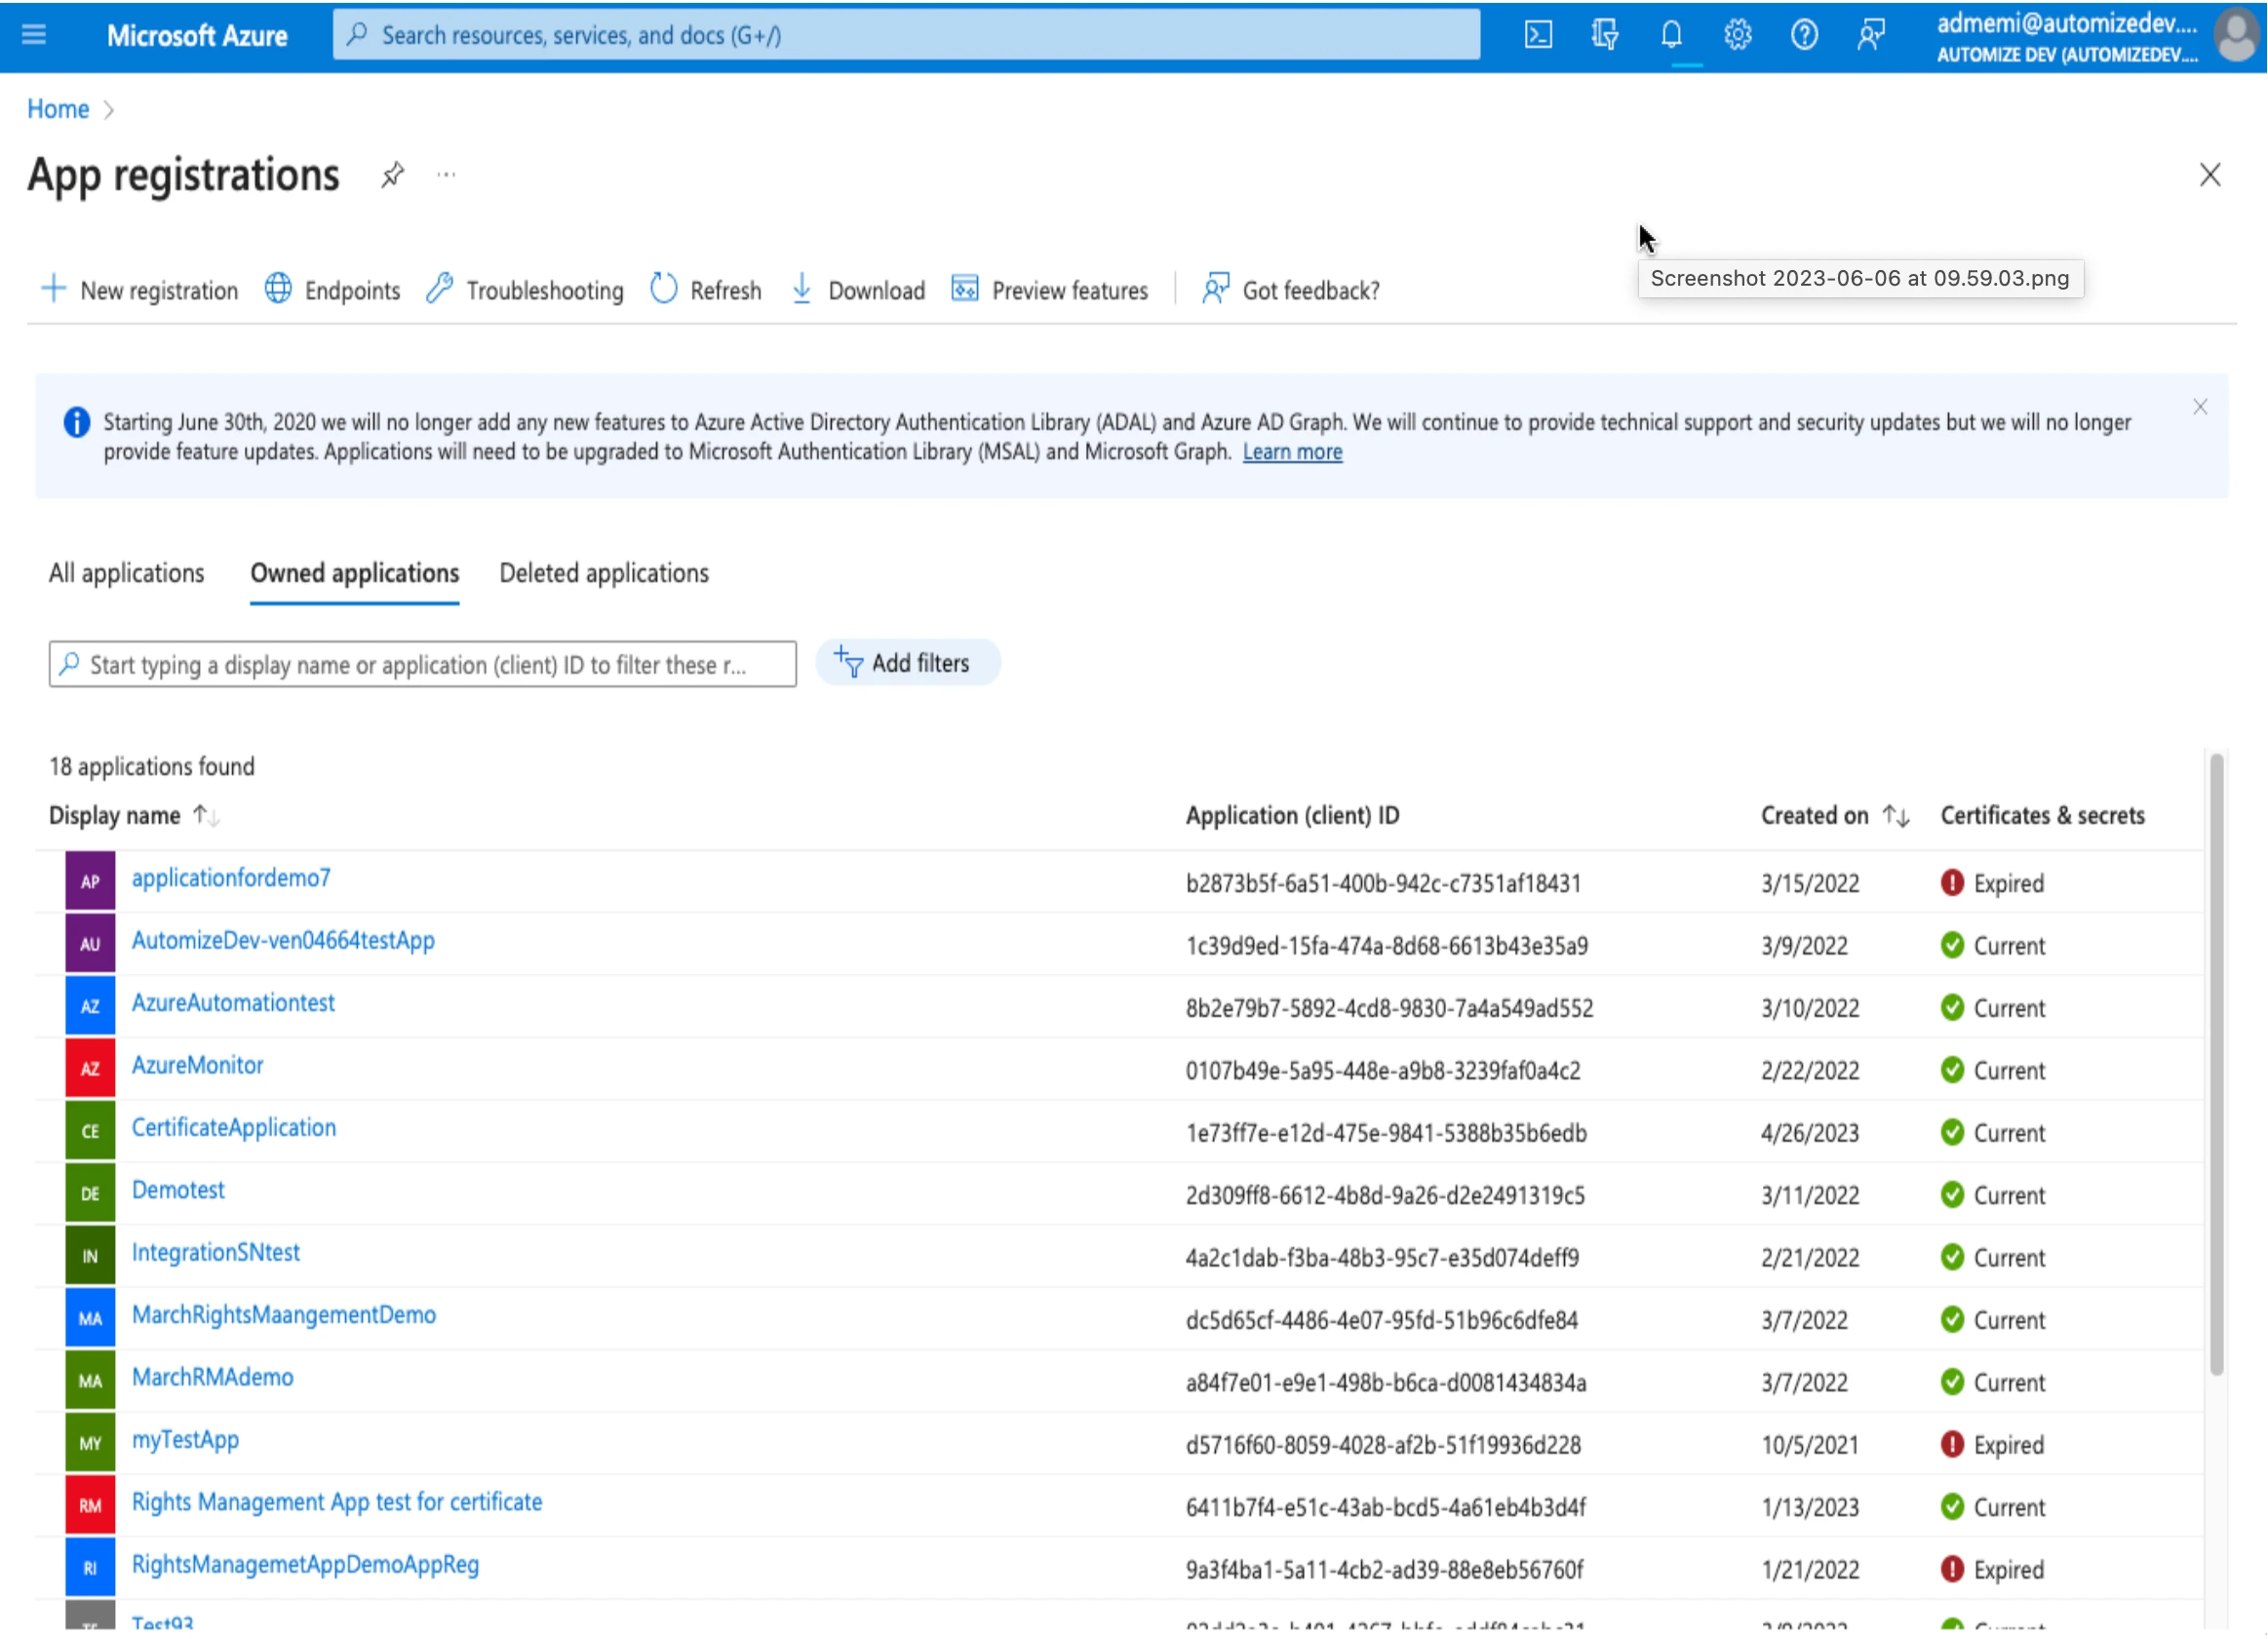
When you are ready, go to portal.azure.com and log in with your Azure credentials. Go to “Azure Active Directory” in the menu to the left. Then click on “App registrations”. This will give you a list of registered Apps. You can add an application by clicking “+ New registration” at the top left of the list.
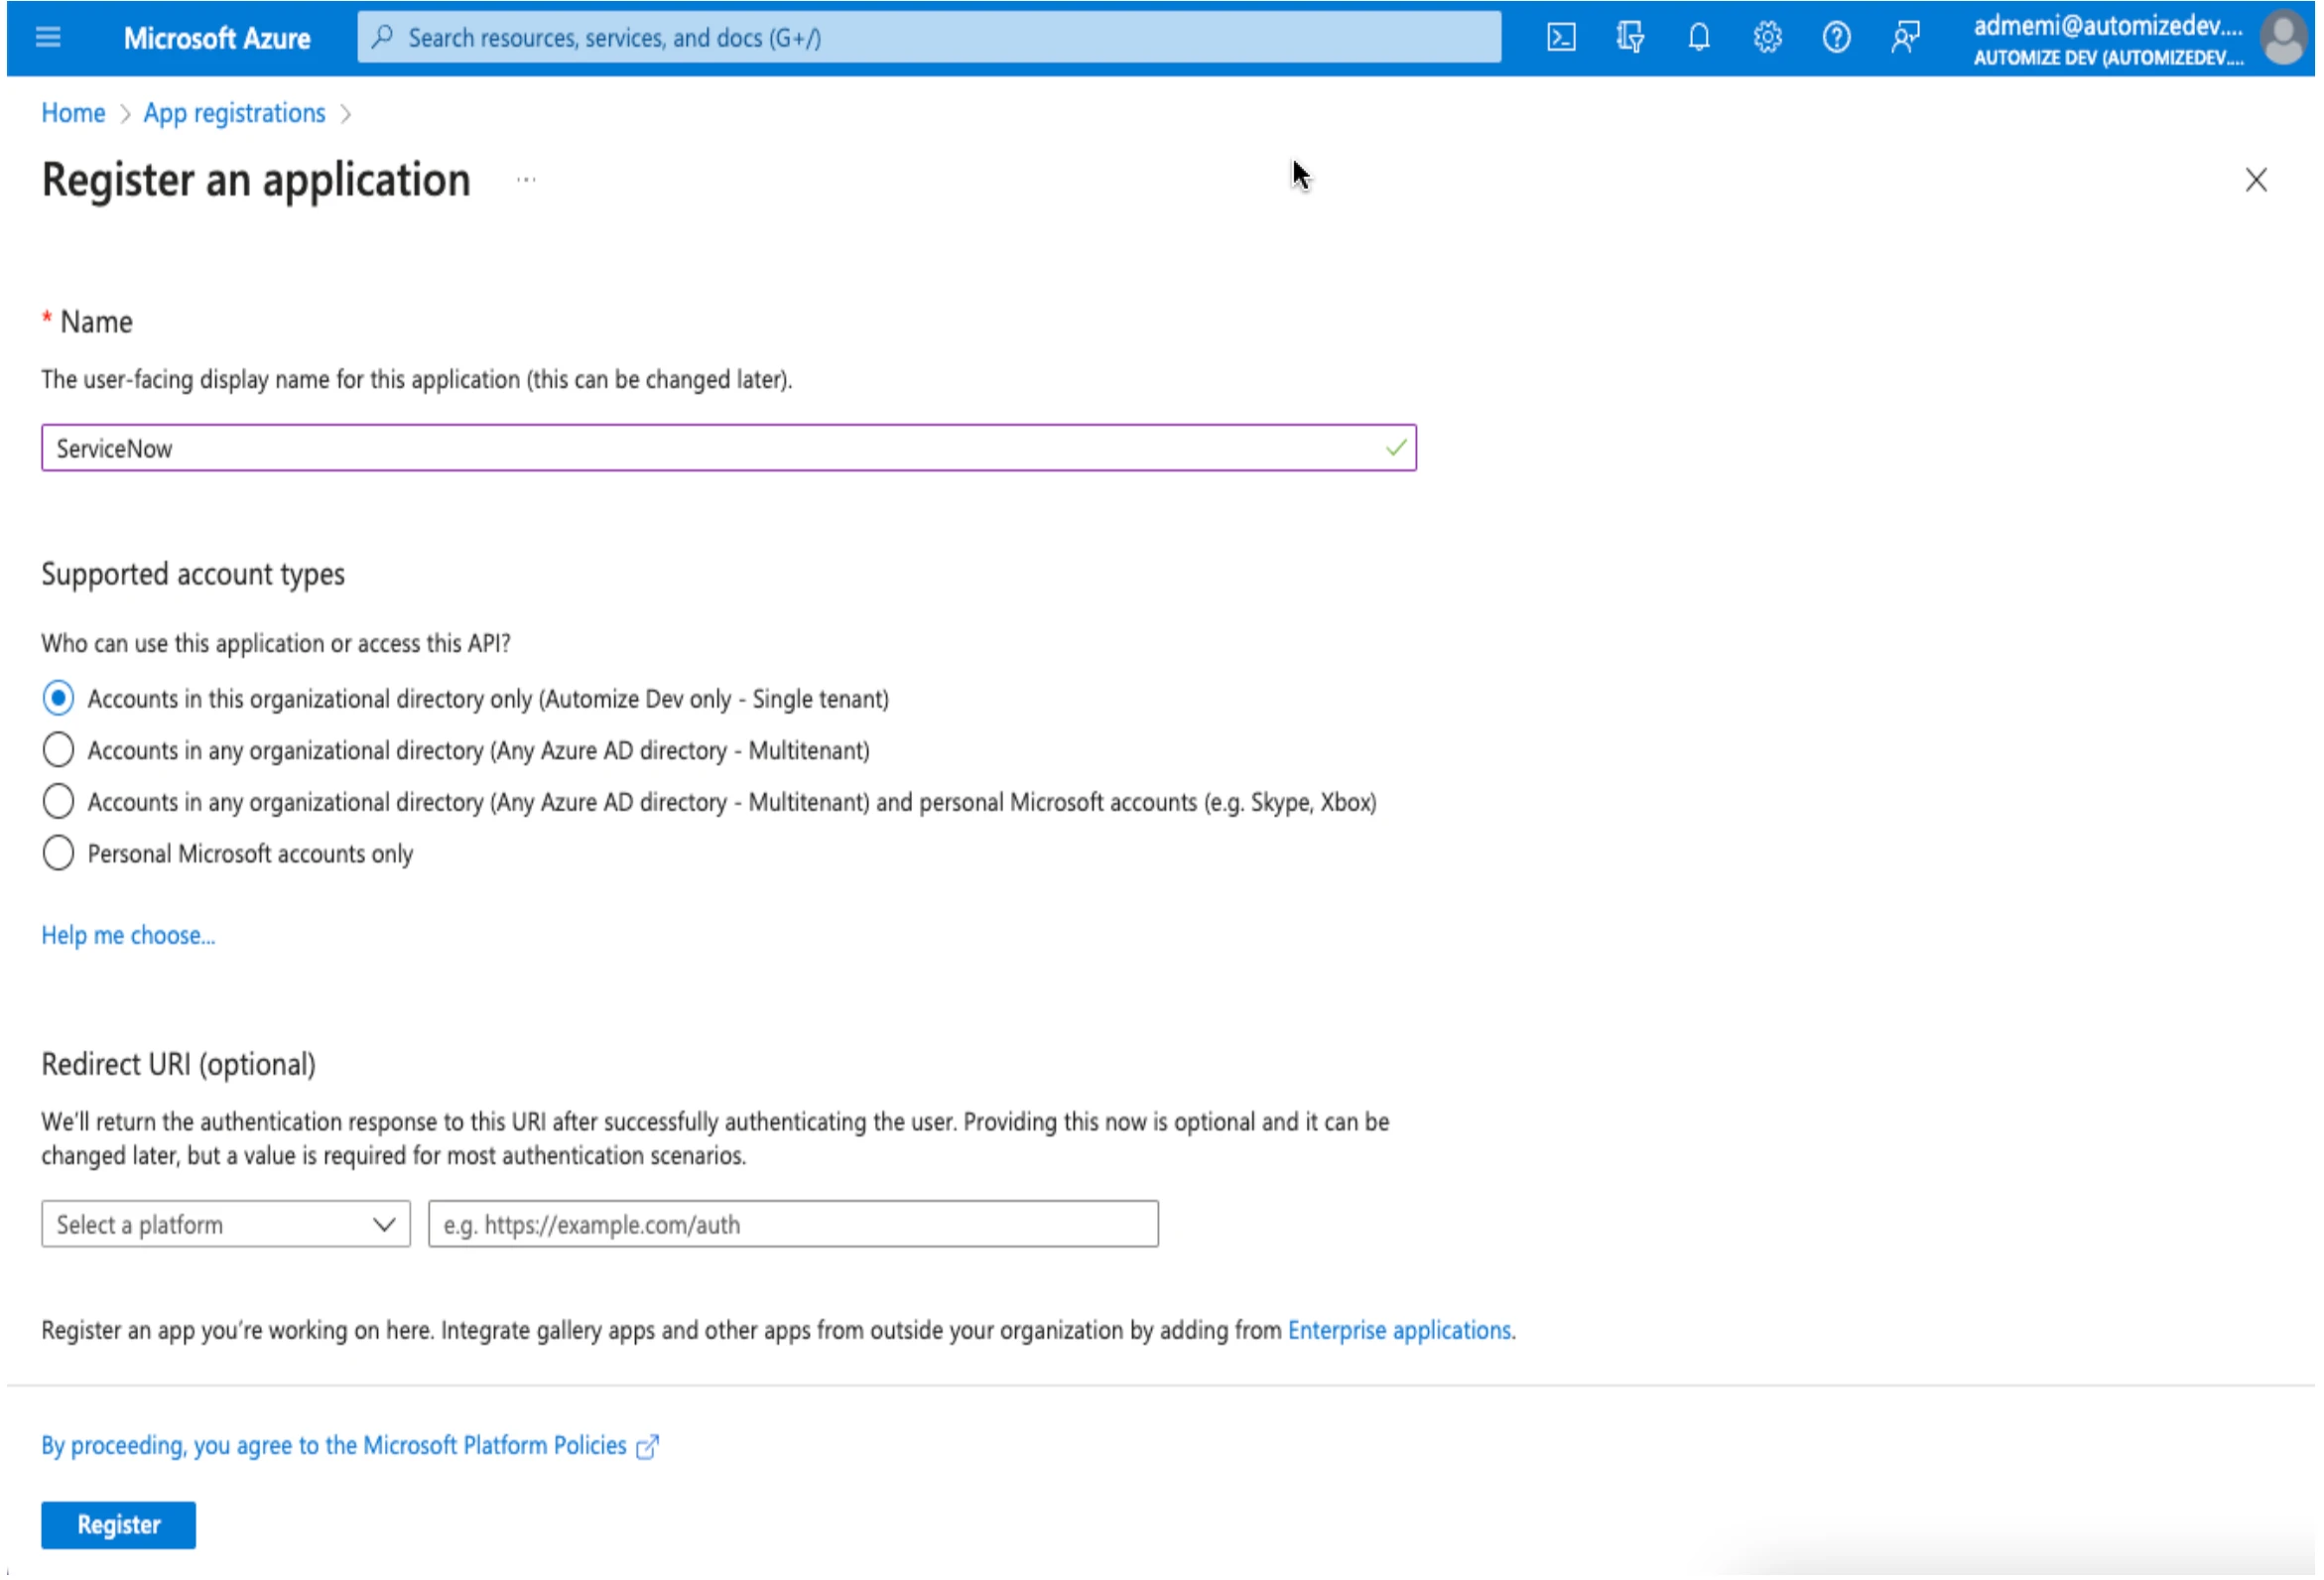
Under “Name” you enter “ServiceNow” or something that makes sense to you. Under the account type select “Accounts in this organizational directory only”. Then click the “Register” button at the bottom.
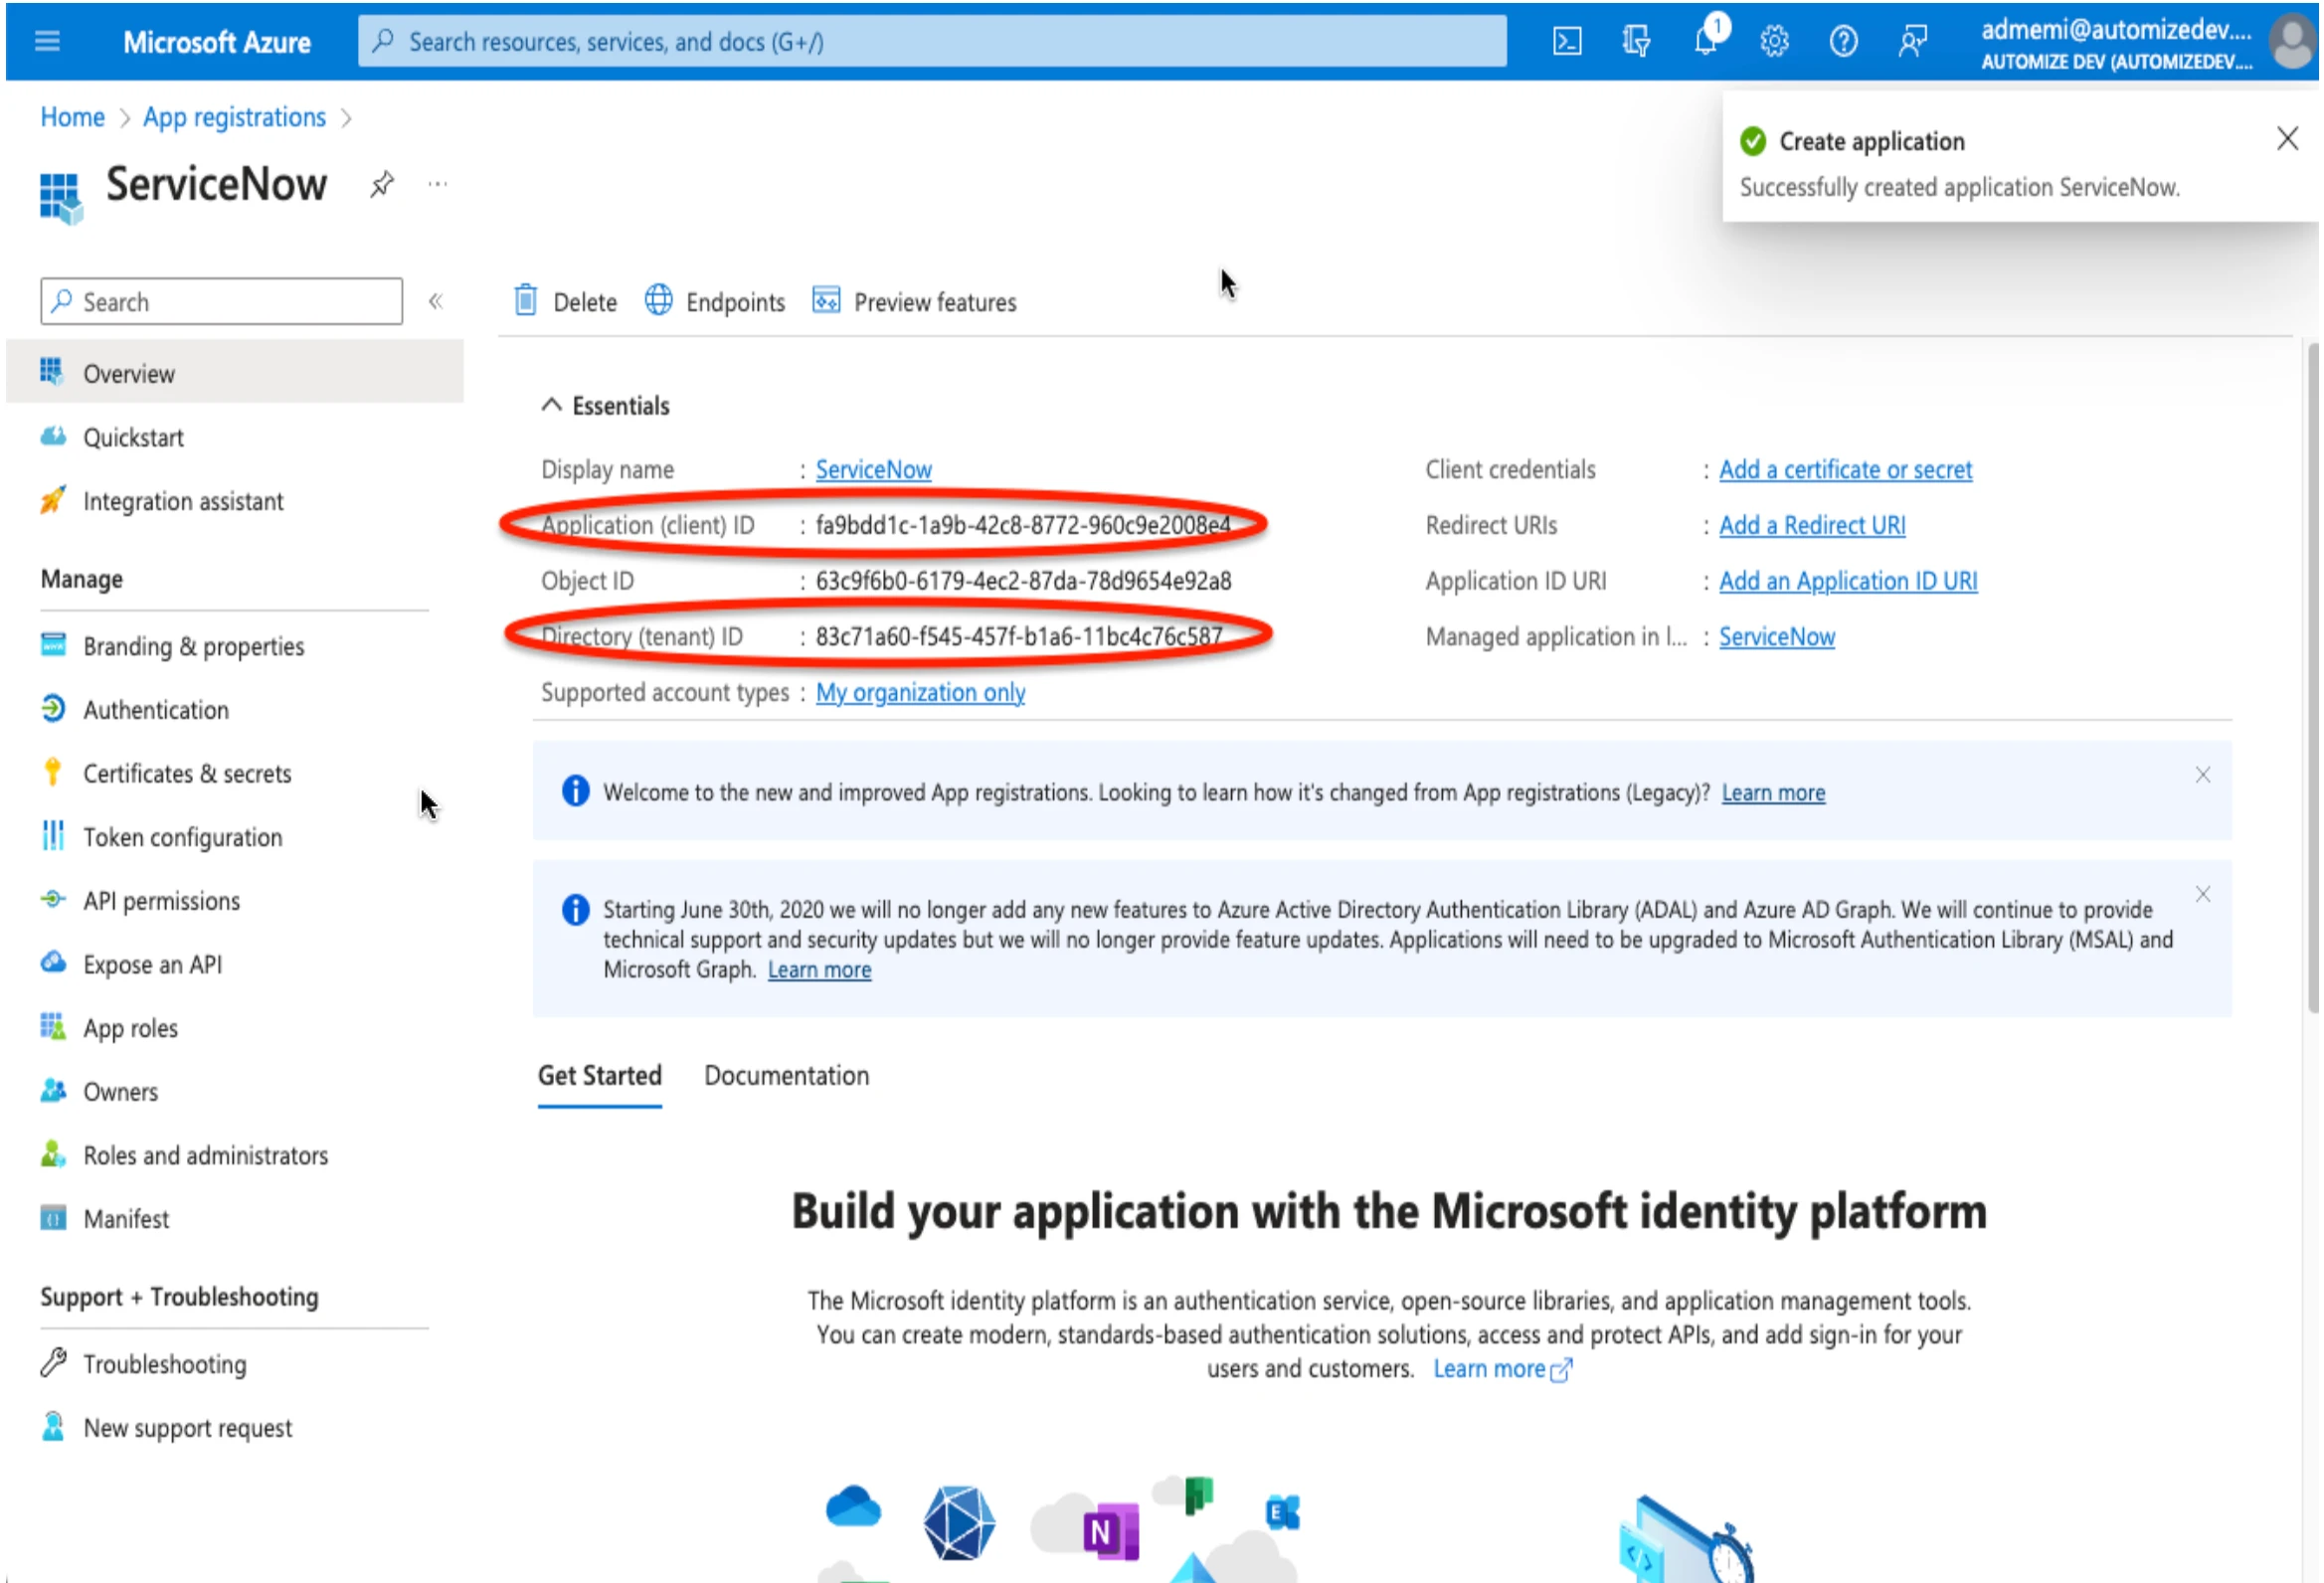
Copy the Application (client) ID and Directory (tenant) ID.
Generate a client secret
In order for the Automation App to connect with Azure Automation you need to generate a client secret . In your App click on “Certificates & secrets”.
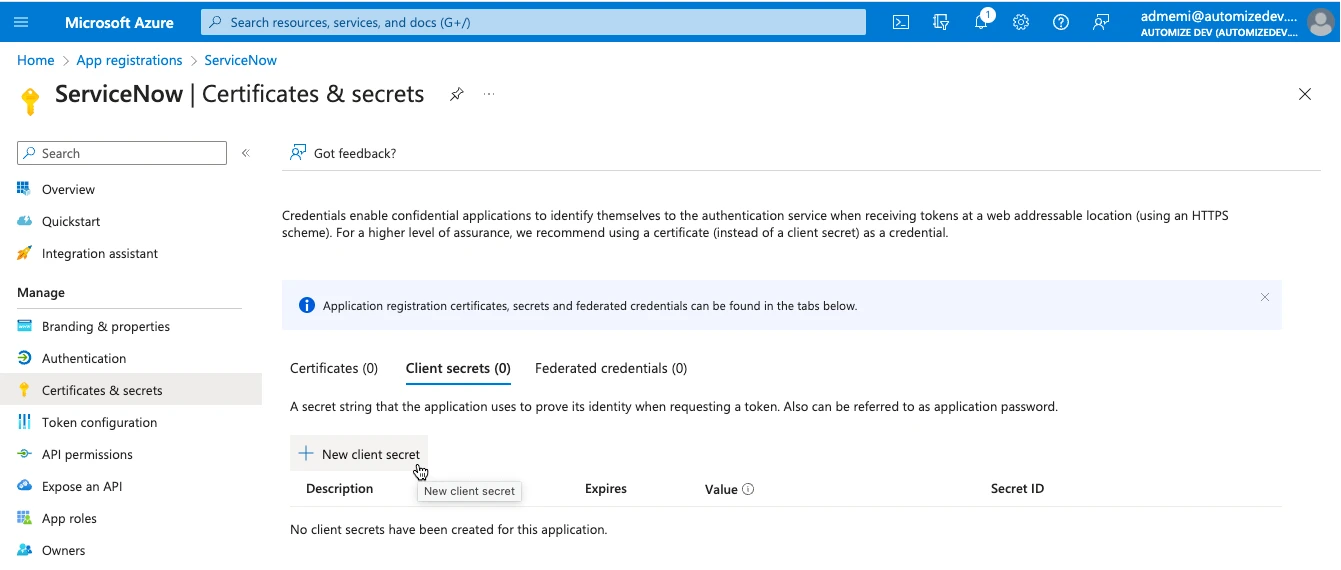
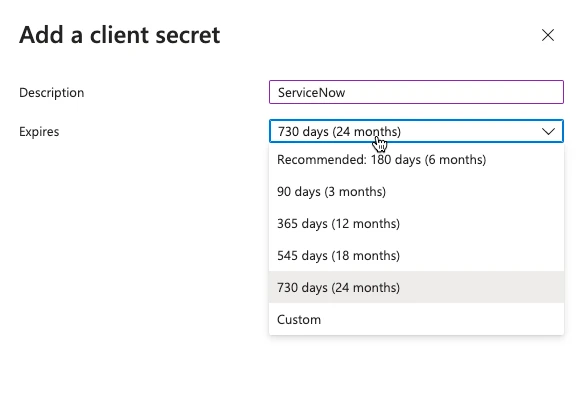
Click on “+ New client secret”. Enter a meaningful Description and an Expiration date and then click Add.
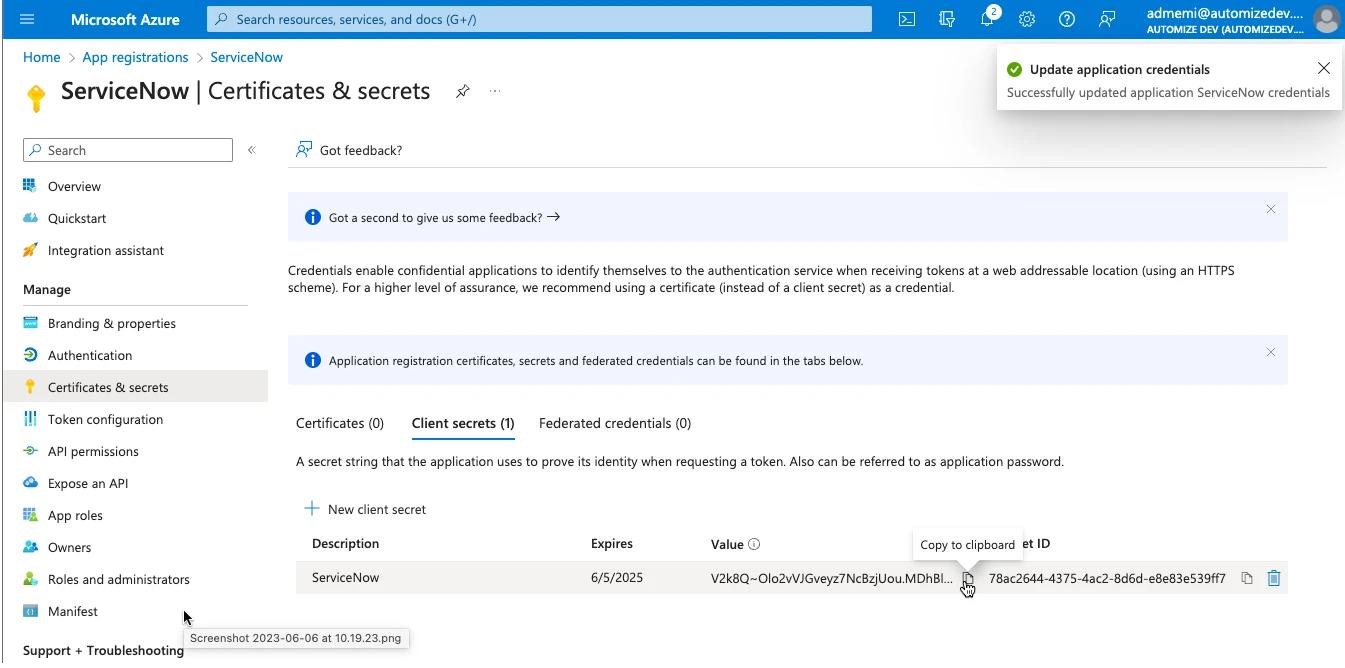
Copy its’ value. This is the only time that you will be able to see this key, so make sure that you copy it and store it somewhere safe together with the “Application (client) ID” and “Directory (tenant) ID” that you copied earlier.
Setup an Automation Account
If you do not already have an Automation Account, now is the time to create one. To do this select “Automation Accounts” from the main menu to the left. Give the Automation Account a Name and select the Subscription. Select an existing Resource Group or create a new one. Select the location and choose if you would like to create an Azure Run As account. Click “Create” once everything is filled out.
Now we need to give the application we created access to the Automation account. Click on “Access control (IAM)” in the menu to the left and then click on “+Add” and select “Add role assignment”.
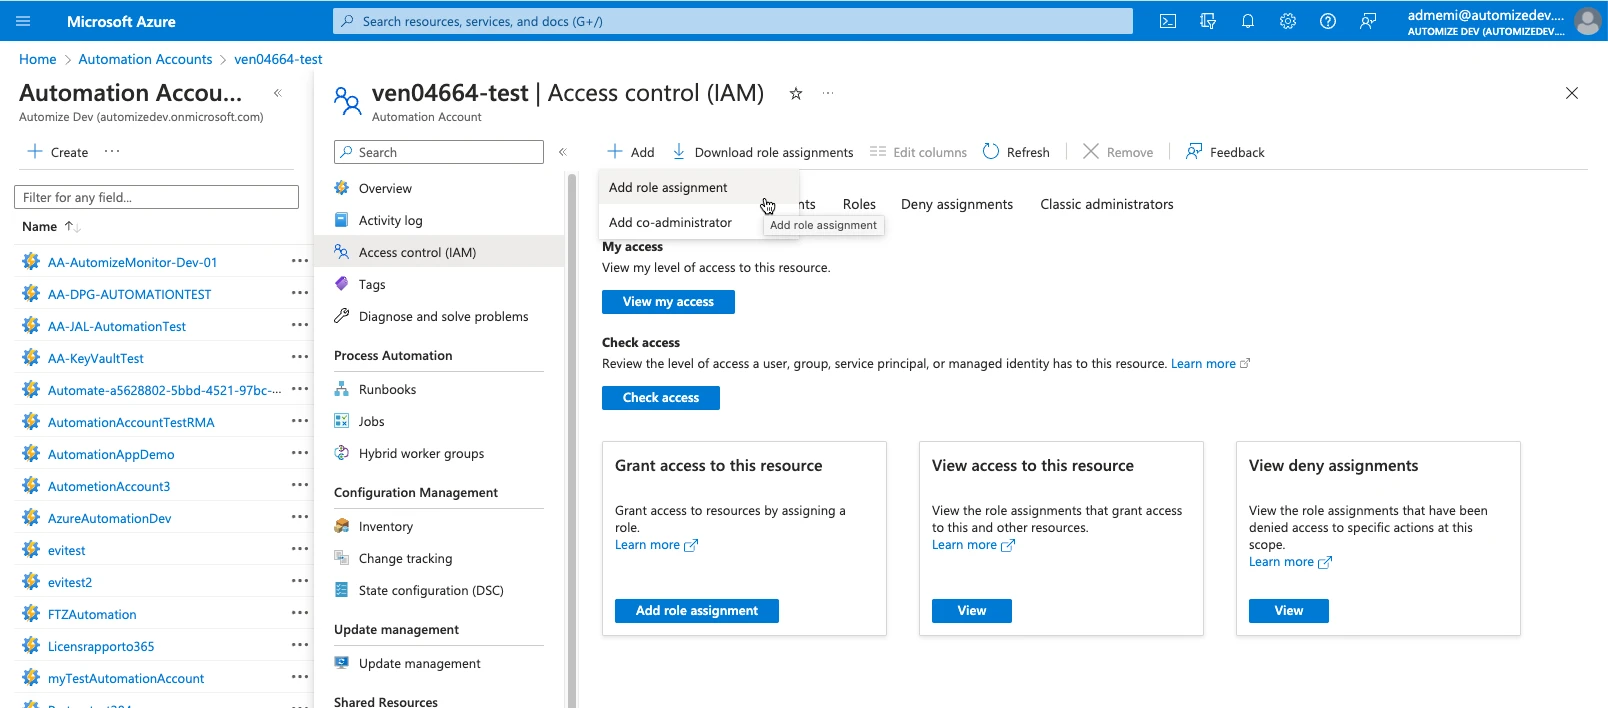
Select “Contributor” under “Role”. Next search for the ServiceNow application on the “Members” list that we previously created and select it. Then click “Review+assign”.
Hybrid Workers
There are multiple ways to deploy a Hybrid Worker. We recommend the Extension-based worker and will briefly explain how this is done here. For detailed instructions on how to install a Hybrid Worker please refer to this [article] (https://learn.microsoft.com/en-us/azure/automation/extension-based-hybrid-runbook-worker-install?tabs=windows%2Cbicep-template) on Microsoft Learn.
The Extension-based worker only works for machines that are known to Azure. If your machine is not an Azure machine, you can create an Agent-based worker. See instructions [here] (https://learn.microsoft.com/en-us/azure/automation/automation-windows-hrw-install).
Create a Hybrid Worker Group
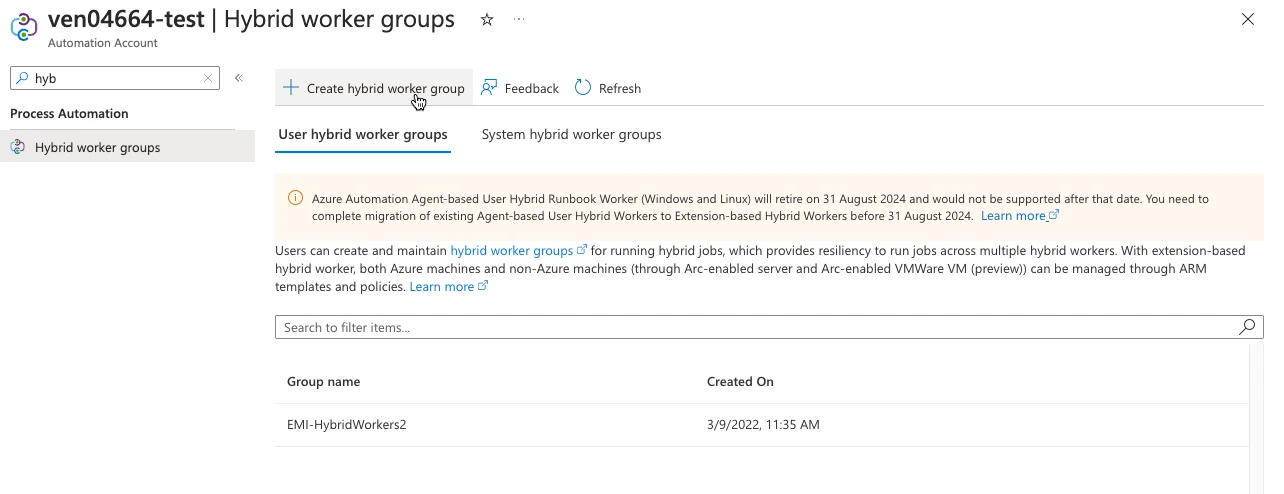
Open the Azure Portal and navigate to the Automation Account that you wish to create a Hybrid Worker Group. Click on the “Hybrid Worker groups” on the left side menu and select “+Create hybrid worker group”.
Give a meaningful Name to your Hybrid Worker, set User Hybrid Worker Credentials to Default and click on Next.

Then click on “+Add machines” select the Hybrid Workers that you wish to work with and click on “Add”.

At last click on “Review+create”.
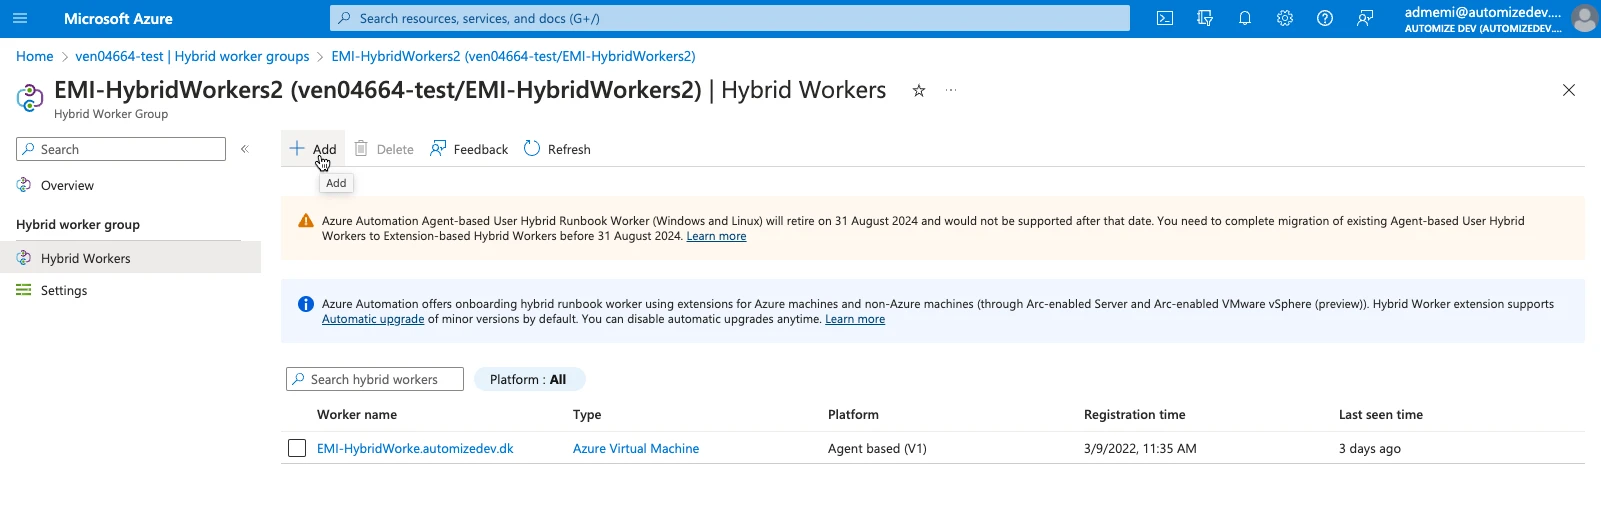
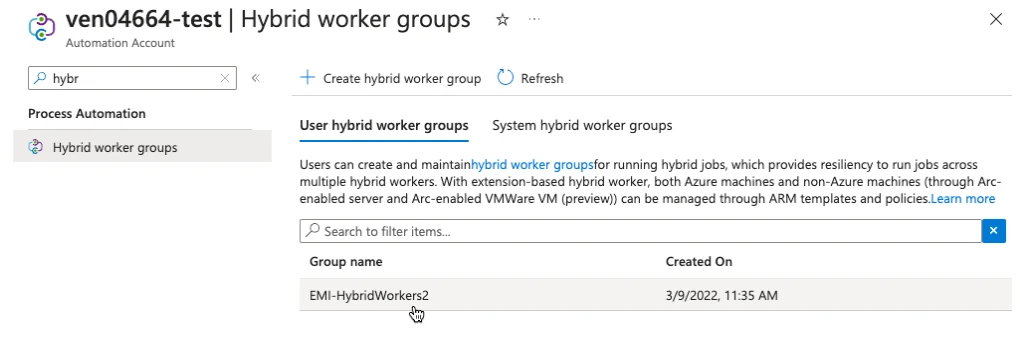
You can also add Hybrid Worker to an existing Hybrid Worker group. You can do that by navigating to Automation Account and clicking on the “Hybrid Worker groups” on the left side menu. Find the group you wish to add the Hybrid Worker to and select it.
Then click on “Hybrid Workers” on the left side menu and then click on “+Add”. Select the machines you would like to add as Hybrid Workers and click Add.