Departments
Create Department
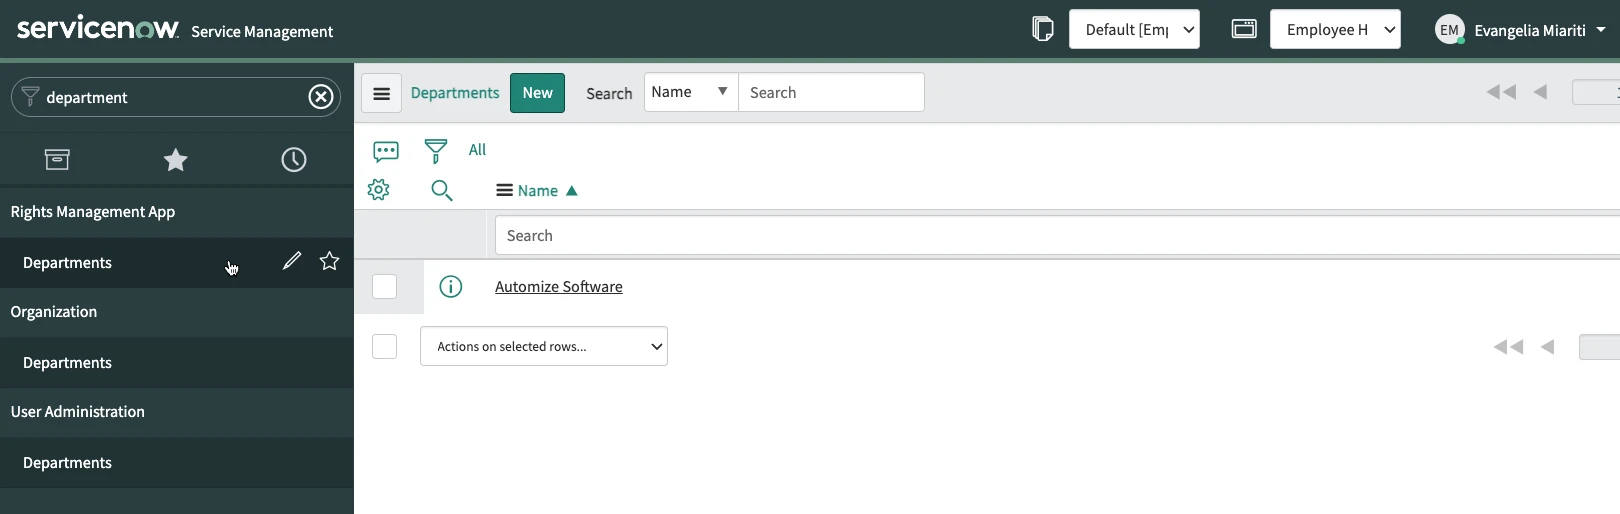
Departments can be created to collect groups that are related to specific departments in your organization. Navigate to Rights Management App > Departments and click on New.
Give a Name to the department, you can also write a Description and select a Valid from and a Valid to date. If a Valid from date is selected then the Identities that will added to this Department will get the memberships to the groups added to this department when the valid from date comes. On the same way those memberships will be deleted when the Valid to date comes. Then right-click on the upper grey bar and select Save.

Scroll down to the related lists. From there you can add Active Directory Groups, Azure Active Directory Groups and ServiceNow groups to the Department. Select one of the three and click on New (in the example shown here we seleted the Active Directory Groups. The process is the same for the other two group types).
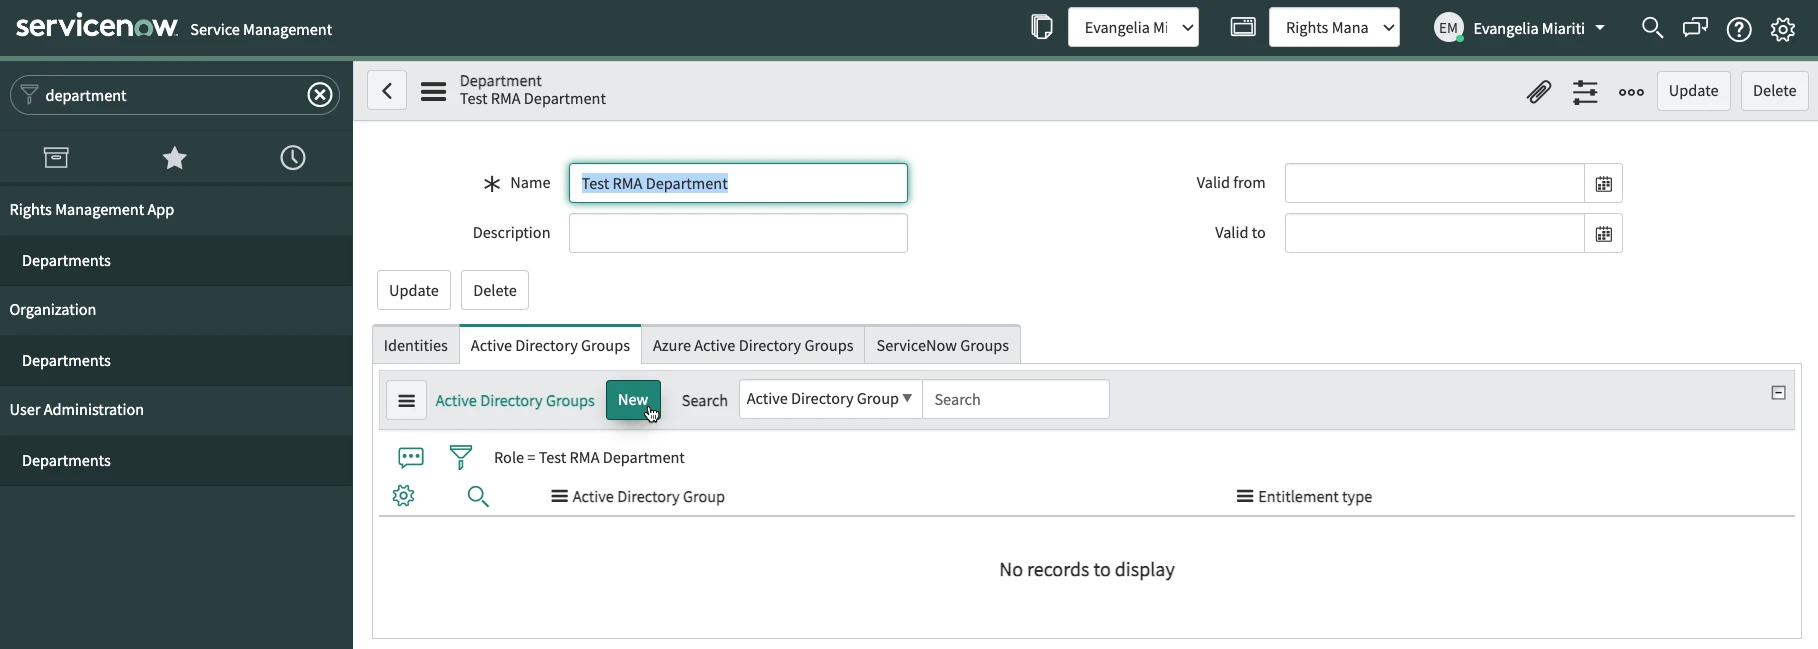
Select the group you want to add to the department and the Entitlement Type of the user accounts that will become members of the group and click on Submit. User accounts that are linked to the Identities which belong to this department and have the same entitlement type as the Department-Group link will become members of the group.

Assign the Department to an Identity
Navigate to Rights Management App > Identities and select an Identity you want to add to the Department and open the record. In the Department field click on the search/magnifier button and select the Departmenet you created. Then click on Update. On this way the Department is assigned to the Identity and the accounts linked to the Identity became members of the groups that are linked with the department.

